Those who want to brake flawlessly ought not to have any air in their brake system. This becomes particularly noticeable when the braking performance decreases, leaving the driver needing to depress the brake pedal with much more force to stop. We’ll show you the essentials of brake bleeding the brake system and what you absolutely need to pay attention to.
The final preparations before starting
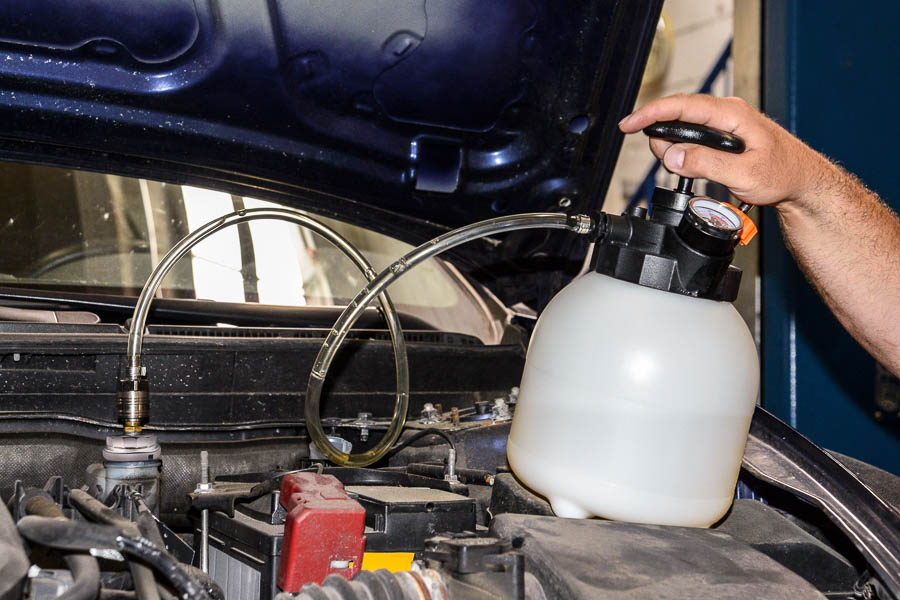
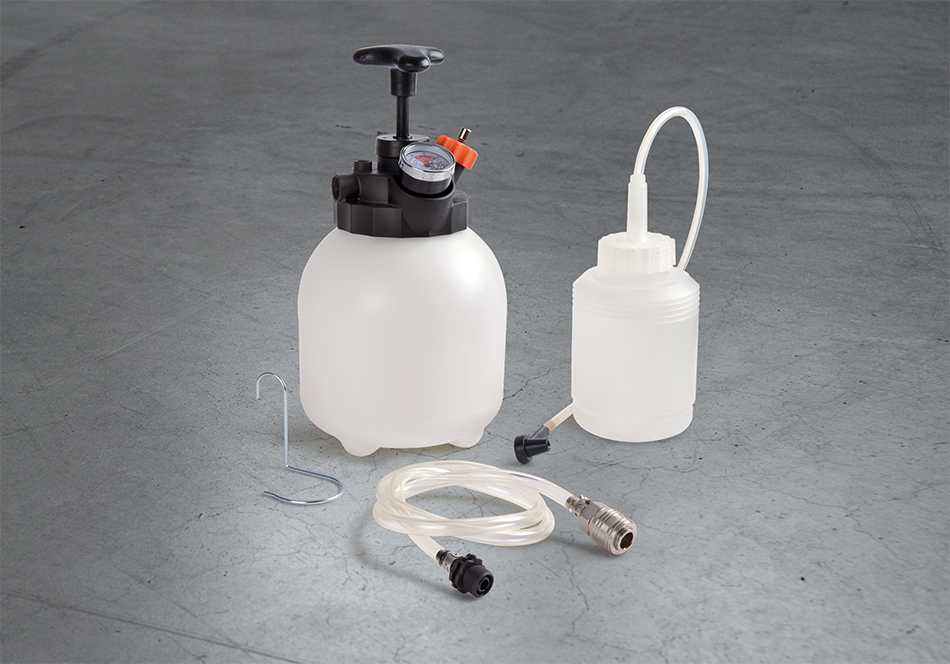
If the brake fluid in the expansion tank is heavily contaminated, this should first be siphoned off to the minimum level before topping up with fresh brake fluid. Then the actual brake bleeding process can begin. In the next step, the storage tank of the bleeder unit is filled with fresh brake fluid, the matching adapter is attached to the brake-fluid expansion tank, and the hose of the bleeder unit is connected to the adapter.
The hand pump is then used to pump up the tank in order to generate the pressure required for bleeding. Here, it is important to observe the manufacturer’s maximum pressure.
Brake bleeding in the blink of an eye
The manufacturer's instructions must always be observed when bleeding the brakes. Accordingly, it can also be different on which side the brake is to be bleeded first.
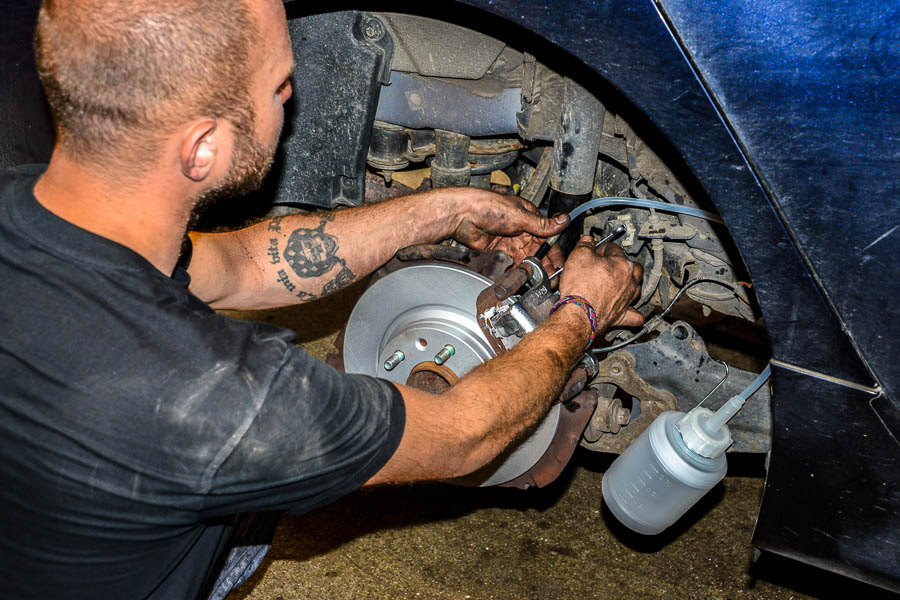
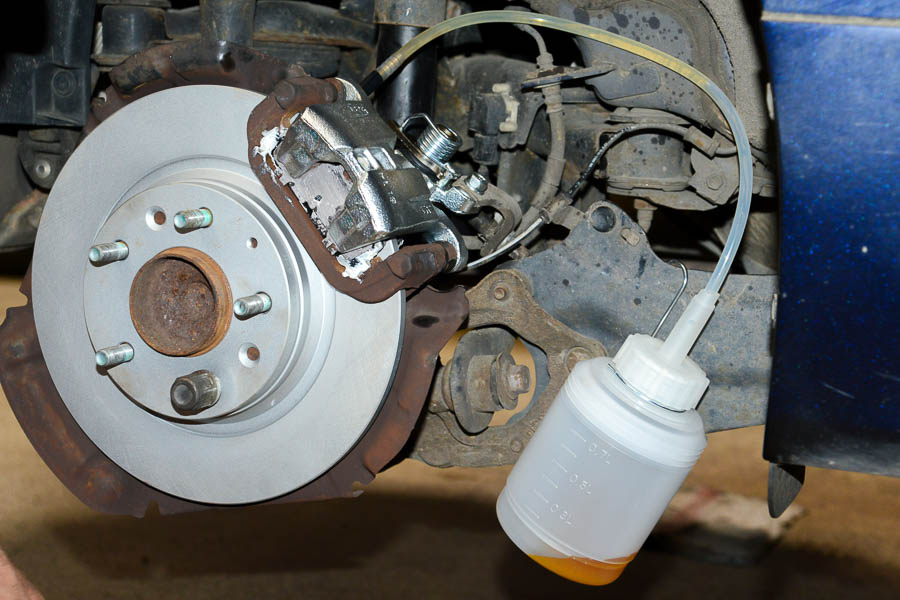
In order to collect the brake fluid that is flushed out of the system later on, the collecting container must be positioned close to the brake calliper’s bleed screw with the hook – ideally directly below the bleed screw so that there are no little mishaps when the bleeding hose is removed afterwards.
The bleeding hose is subsequently connected to the bleed screw, which can then be opened.
Now it’s time to get down to business. We bleed the system until light-coloured fluid without bubbles can be seen in the hose, or until approx. 30 seconds have passed. The bleed screw is closed again before the hose is removed. The best way to do this is to pinch the hose together very tightly with your fingers close to the screw before removing the hose. If this doesn’t go entirely to plan, clean immediately with plenty of water. This procedure is repeated for all bleed screws.
Now the air is vented until bubble-free and bright liquid can be seen in the hose.
The pressure of the bleeder unit should be checked after every bleeding procedure. Additional pumping must be performed if required. Aside from this, it must always be ensured that sufficient brake fluid is in the storage tank so that air isn’t pumped into the brake system.
Before we remove the bleeder unit after our work is done, the pressure must first be discharged. The level of the brake fluid in the expansion tank should be checked again and topped up if necessary. Finally, the expansion tank is sealed securely once more. After the job is done, the bleeder unit and its component parts should be carefully cleaned.


