
Our range of products has contained brake calipers right from the very beginning, and we’ve always appreciated the importance of these safety-relevant brake components. Brake calliper brackets are an essential part of the brake system and accommodate the brake pads. The brake piston presses the brake pads onto the brake disc, which brings the vehicle to a stop.
Alongside conventional deceleration by means of the service brake, the rear brake caliper also accommodates the function of the park brake, which is responsible for preventing parked vehicles from rolling away.
Conventional park brakes are actuated using a handbrake lever, whereby mechanical force is transferred to the handbrake function of the brake caliper via the handbrake lever and the handbrake cables. This presses the brake pads onto the brake discs, and the vehicle is prevented from rolling away.
In an age of automotive assistance and comfort systems, an additional type of park-brake actuation has emerged: the actuation of the park brake by means of an electric servomotor.
In this case, the actuation through mechanical force is replaced by an electrical signal that triggers a servomotor, which then applies the required force through the brake pistons.
When replacing a brake caliper featuring an electric park brake, there are a few specific details to bear in mind compared to conventional brake calipers. Below, we will talk you through these step by step.
How to replace a brake caliper:
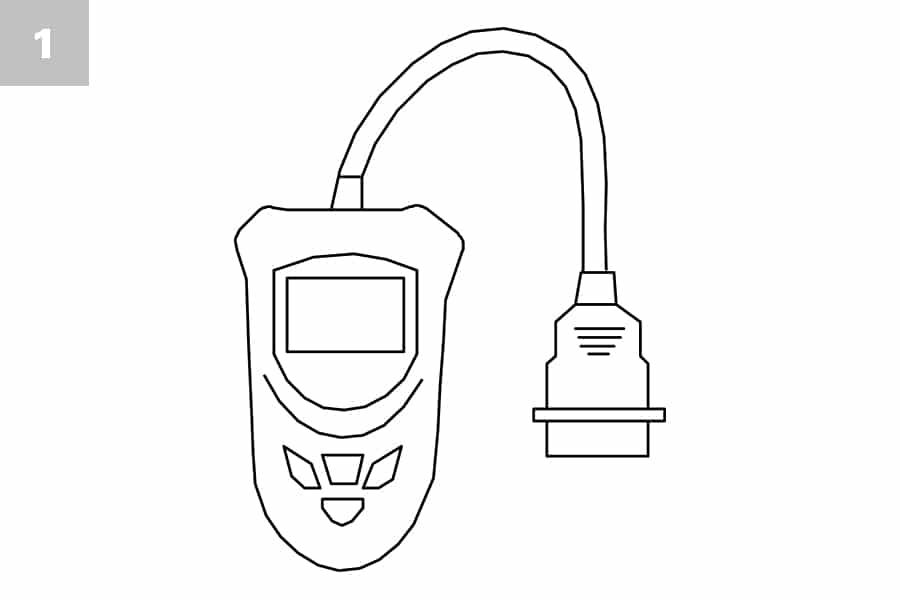
Step 1:
Connect the OBD diagnosis unit to your vehicle and follow the instructions for changing the brake caliper. This usually involves resetting the brake piston.
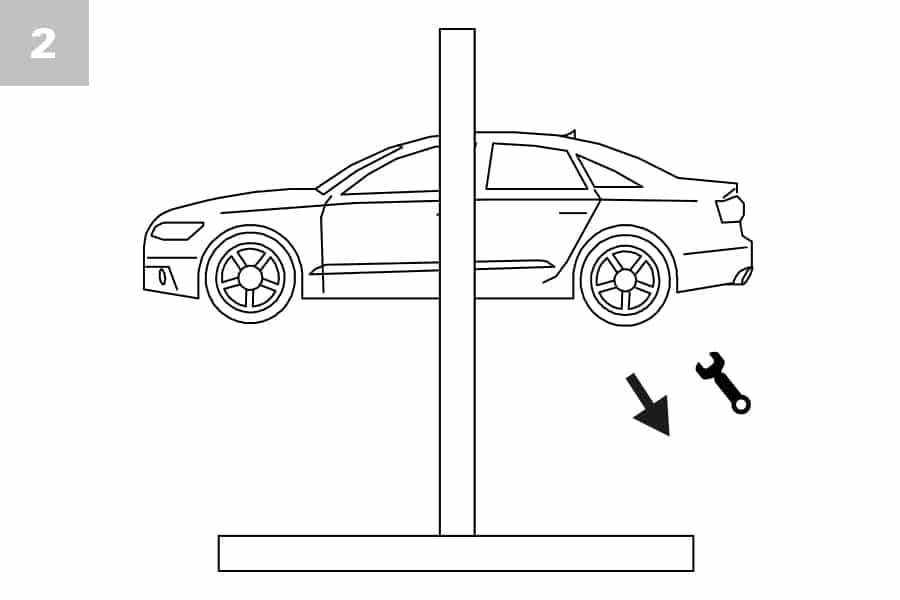
Step 2:
Raise the vehicle and remove the wheels.
Step 3:
If an electric wear indicator is installed, the plug connections must be disengaged.
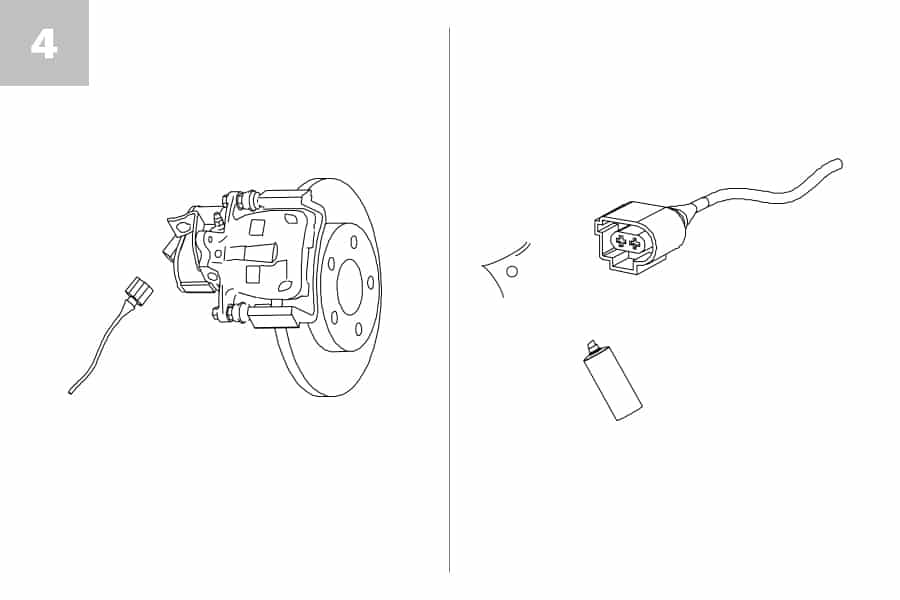
Step 4:
Release the cable connectors for the electric park brake and inspect the cable and the plug connector for visible damage and corrosion.
Step 5:
The brake hose must now be removed from the brake caliper. Our stopper set for hoses and pipes (article no.: J9300000) can be of use for sealing the line while repairs are ongoing. This prevents the irritation of brake fluid leaking out during the repair process
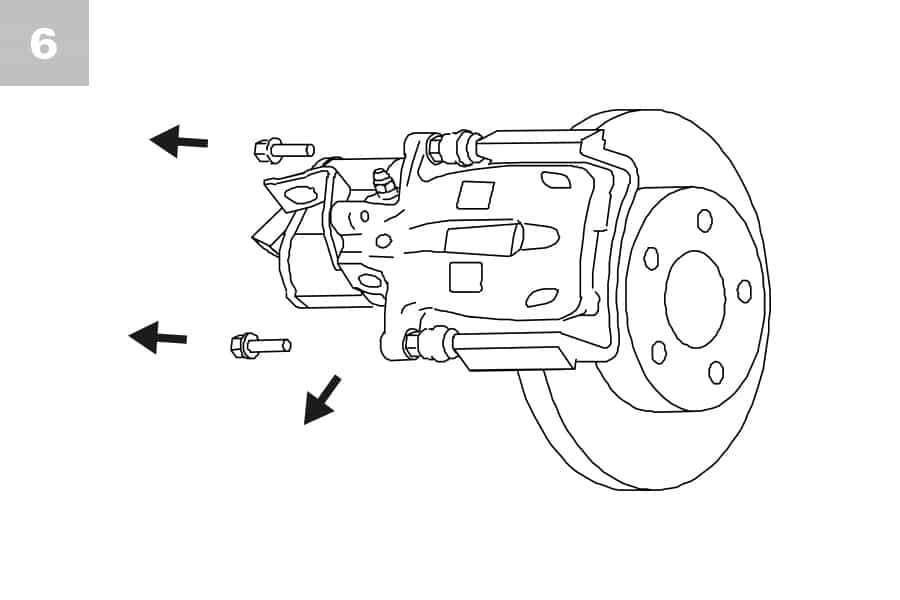
Step 6:
The brake caliper can now be removed. At this point, check whether the brake pads and brake discs also need to be replaced.
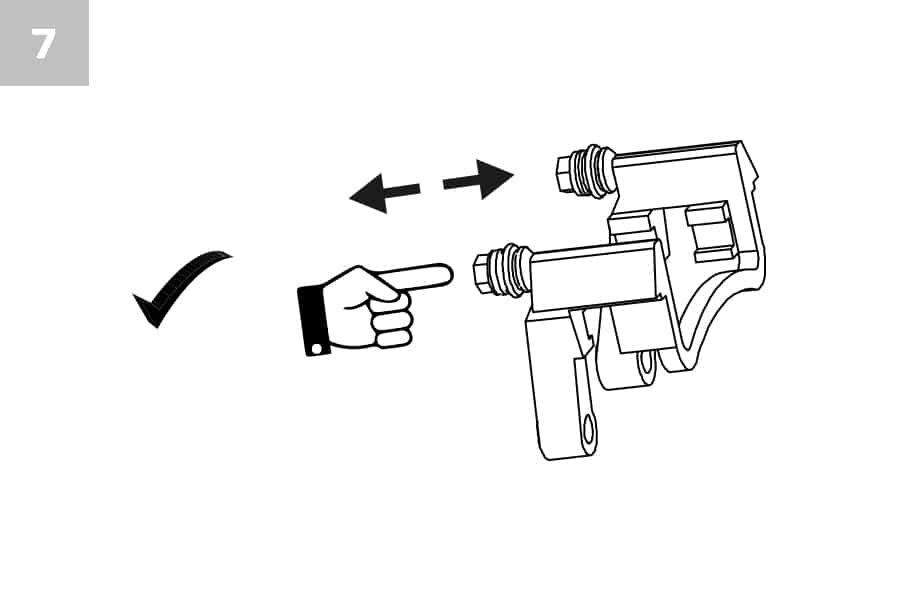
Step 7:
The new brake pads and brake discs are now installed provided they need to be replaced. If this is not the case, ensure that the old brake pads run smoothly within the guide and do not jam. If necessary, clean and re-lubricate them.
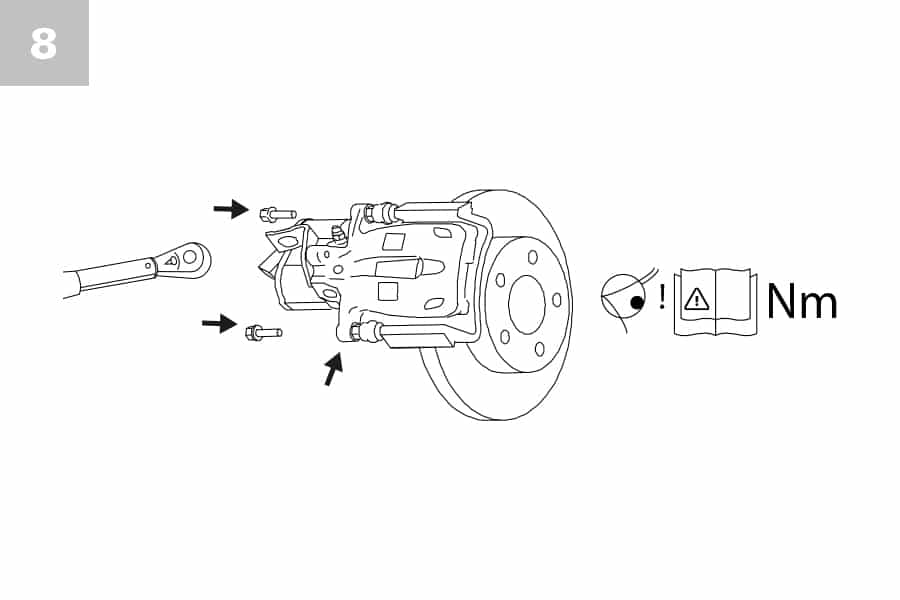
Step 8:
Now install the new brake caliper with self-locking bolts. Observe the torque specifications provided by the vehicle manufacturer.
Step 9:
The brake hose is now fixed in place on the brake caliper with new seals.
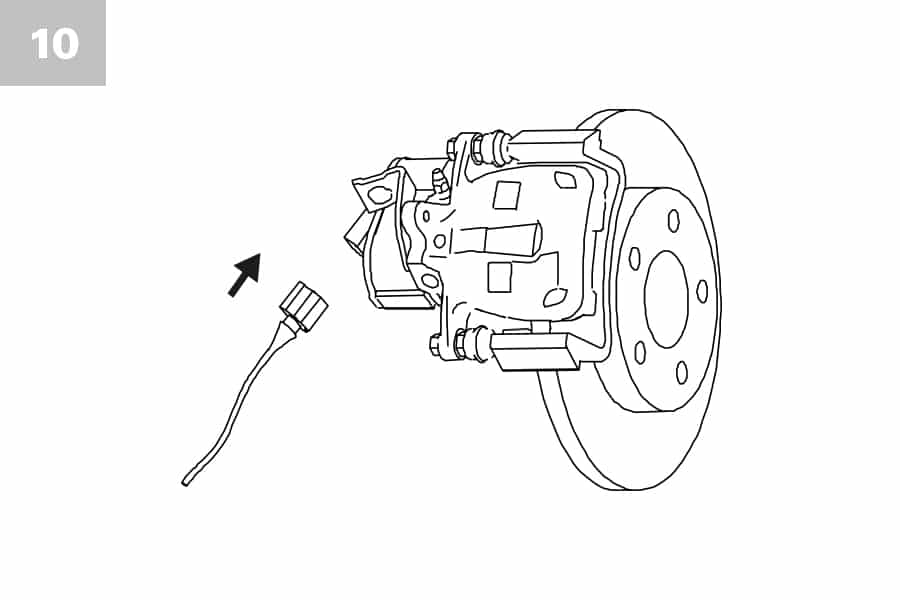
Step 10:
Connect the plug connectors for the electric wear indicator (provided they were previously installed) and connect the cable connection for the electric park brake to the brake caliper’s housing.
Step 11:
Bleed the brake system in accordance with the vehicle manufacturer’s specifications and check that your brake system is free from leaks.
Step 12:
Check the level of the brake fluid and top it up if necessary. When doing so, observe the specifications in the vehicle manufacturer’s operating instructions
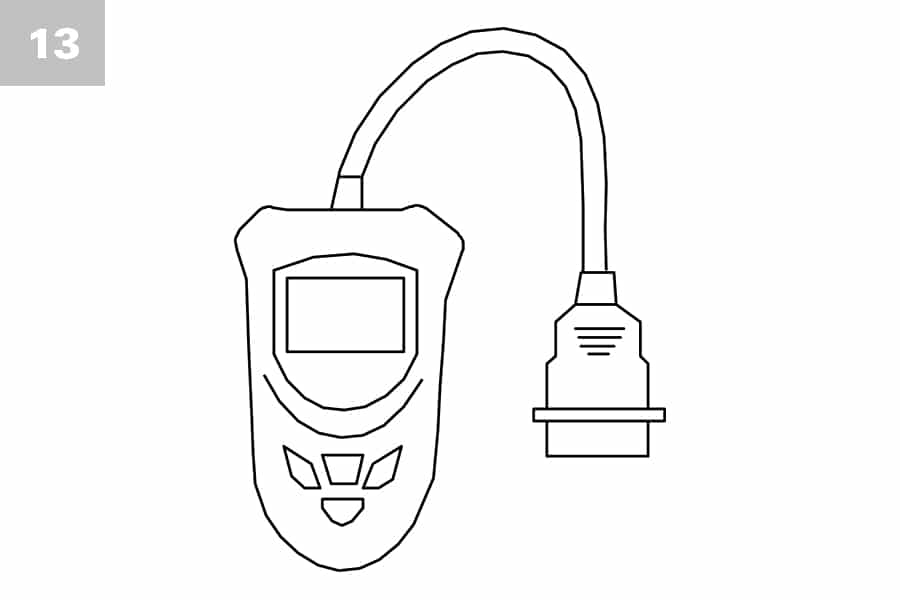
Step 13:
Calibrate the electric park brake using the OBD diagnosis unit.
Step 14:
Install the wheels and tighten the wheel bolts to the appropriate torque level in accordance with the vehicle manufacturer’s specifications.
Step 15:
Test the brakes on the brakes tester and perform a test drive.